Good day.
This morning we started off with rudolph singing a family song and moving on we were looking through what we have learnt so far and what we are learning today. Which is Line Colour and Texture.
Lines.
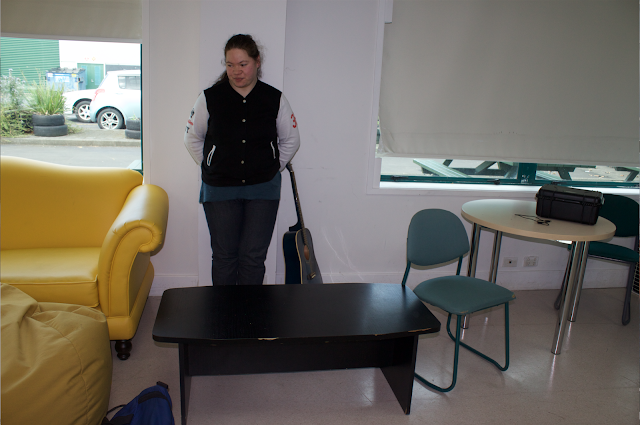
I am using this photo as an example of vertical lines, as Dorothy is standing straight, in between straight lines. This feels like I could have brightened the lighting in this shot.
Camera settings:
ISO: 400
Aperture: 6.3
Shutter Speed1/100
My Diagonal line, Using Sam's arm and leg, to reach out to the corners. lso wish I had more light for this photo, as I was only using my camera's flash for this, but I love that there is a small harsh shadow on Sam's side.
Camera settings:
ISO: 200
Aperture: 14.0
Shutter Speed: 1/160
My horizontal lines.
Camera Settings:
ISO: 400
Aperture: 6.3
Shutter Speed: 1/100
I like that the background is slightly blurred. I am using this for one of the contrasting colours, between their shirts.
Camera Setttings:
ISO: 400
Aperture: 6.3
Shutter Speed: 1/100
I like the contrasting colours in this one, the colours compliment each other, I dont like the expression on Stephanies face because she looks like she is in pain, which probably means I said something stupid at the time of taking the photo.
Camera Settings:
ISO: 200
Aperture: 5.6
Shutter Speed: 1/80
I did this one for the reduced colours, I didn't realise how out of focus this picture was on the small screen. which makes it hard to look at.
Camera Settings:
ISO: 400
Aperture: 6.3
Shutter Speed: 1/100
I did this one for reduced colours as well, but is also very out of focus as well. So it was a fail for me for reduced colours.
Camera settings:
ISO: 400
Aperture: 6.3
Shutter Speed: 1/100
After completing the class tasks I went to Marie for advice about making silhouette photography for my class project. So we had a little practice for it. The best way to take these photos is to have access to a large portion of the sky so like at a beach or an open field, also to have the sun behind the subject. Since we are aiming for a black out figure it is ok to have the images more under exposed than general, which will give more details to the back ground and in the sky.
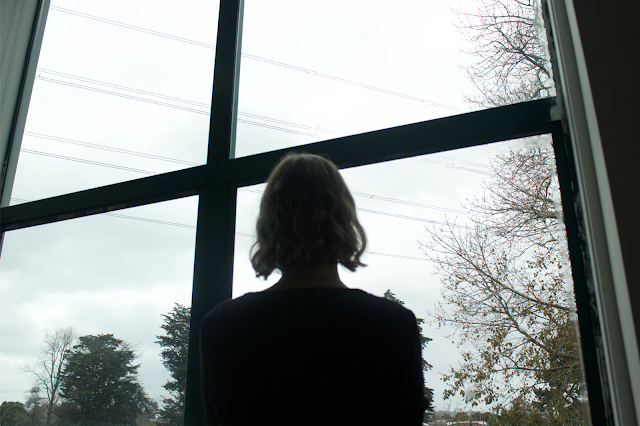
Camera Settings:
ISO:100
Aperture: 5.0
Shutter Speed: 1/320
I started under exposing this one more further and it does look better already, particularly with the clouds.
Camera Settings:
ISO: 100
Aperture: 5.0
Shutter Speed: 1/1250
I was just experimenting with underexposing the outside with these last two images.
Camera Settings:
ISO: 100
Aperture: 5.0
Shutter Speed: 1250
This one looks like it is about to be a huge storm.
Camera Settings:
ISO: 100
Aperture: 5.6
Shutter Speed: 2500
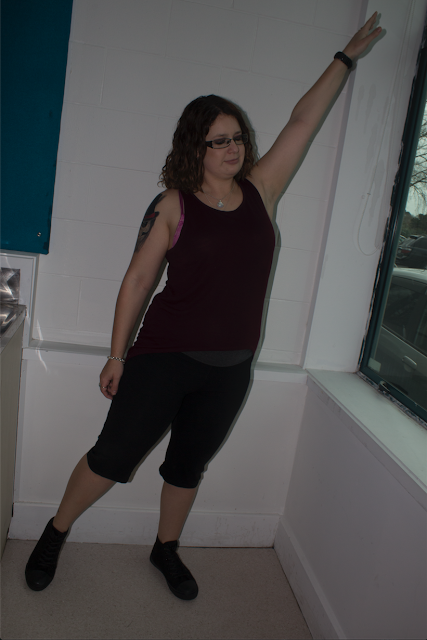
I started with this photo in the afternoon to start editing because of how dark it is and I thought that I could also start adding to this in the background. but I only ended up doing the basic editings shown below.
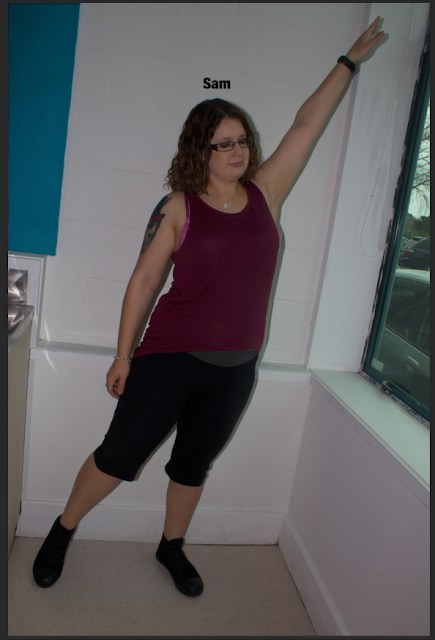
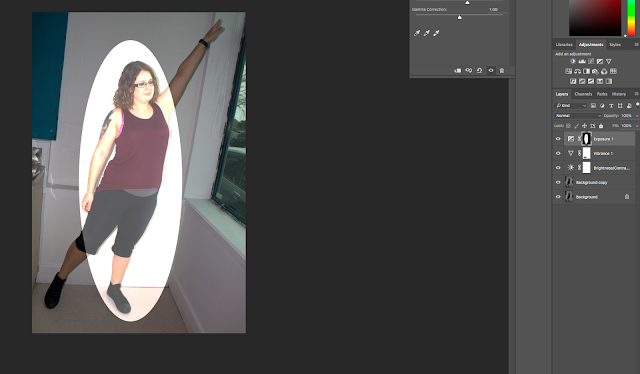
After Marie had shown us the afternoon's session in photoshop I grabbed her for help on getting my practice on my first eye to see how it would look before the presentation next week. I did a little retouching of the photo with just the eye I took some of the makeup mess away and some blemishes but in future, I will keep the blemishes in because I think that they add more character to the photo.
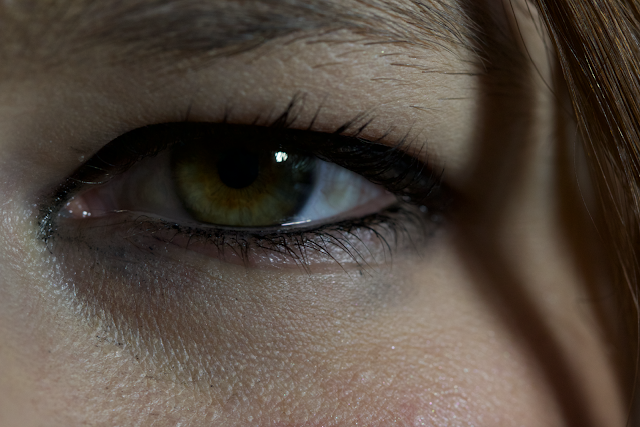
I selected one of the Silhouettes that I did with Marie earlier as one of the practices as well. We created a separate layer to work on then dragged the image onto the eye shaping it using the erase tool and then we changed the opacity of the image and then used the eraser tool again to soften the edges of the silhouette. which basically did it.
Marie and I discussed how I would present these artworks at the end of semester, and we thought that it would make quite a big statement if i blew it up to A0 or A1 and we talked about possibly getting it printed for the presentation next week.
Thanks for reading.


No comments:
Post a Comment